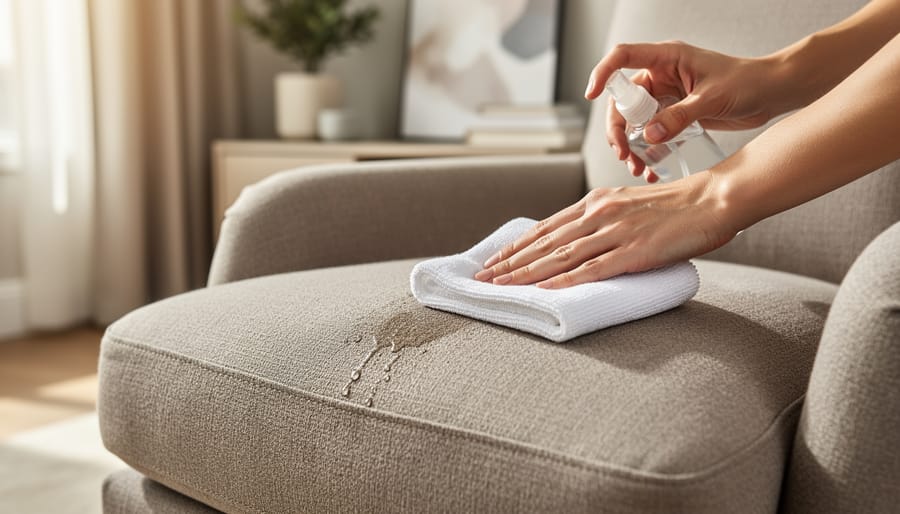
You can remove sticky residue from fabric and upholstery using common household items like rubbing alcohol, dish soap, or white vinegar. Most methods take just 5 to 15 minutes and require gentle blotting rather than scrubbing to lift the stickiness without damaging the fibers beneath.
Last spring, I discovered a glob of old tape adhesive on my favorite armchair right before hosting family for Easter dinner. I nearly panicked, but a quick treatment with rubbing alcohol and a clean cloth saved the day. That moment taught me that sticky messes don’t mean ruined furniture, and you don’t need expensive specialty cleaners to win the battle.
Whether you’re dealing with sticker residue on your couch, gum stuck to upholstery, or mystery stickiness on cushions you style throw pillows against, the right approach makes all the difference. Different sticky substances respond to different treatments, so having a few reliable methods in your cleaning toolkit ensures you’re prepared for whatever life throws at your fabric surfaces. The key is acting quickly and choosing gentle solutions that won’t leave stains or damage the texture of your upholstery.
This guide walks you through proven, budget-friendly techniques that actually work, helping you restore your furniture to its beautiful, sticky-free state without professional help.
How I Chose These Sticky Residue Solutions
I tested every method in this guide on my own furniture and fabrics before including it here. After rescuing countless thrift store finds and dealing with my share of label residue on yard sale upholstery, I developed strict criteria for what makes the cut. Each solution had to be genuinely budget-friendly, relying on pantry staples or products costing just a few dollars at most.
Key Takeaway: Every method featured here meets three essential criteria: uses affordable household items, safely works on most fabric types, and delivers proven results without professional equipment or harsh chemicals.
Safety mattered tremendously in my selection process. I only chose approaches that wouldn’t damage common upholstery fabrics like cotton, polyester blends, and microfiber. Each technique underwent real-world testing on everything from my grandmother’s vintage velvet chair to my kids’ microfiber sofa, which has seen more sticky disasters than I care to count. Similar techniques are also useful for other fabric challenges, as detailed at https://www.mustanghygiene.co.uk/how-to-remove-chewing-gum-from-clothes. I also consulted trusted DIY communities and resources to verify effectiveness beyond my own experience.
The final requirement was simplicity. No special tools, no expensive solvents, and nothing requiring a chemistry degree. If a method worked beautifully but needed equipment most people don’t own, it didn’t make my list. These seven solutions represent the most reliable, accessible options I’ve discovered through years of bringing secondhand treasures back to life and managing everyday sticky mishaps.
1. Ice Cube Method for Gum and Wax
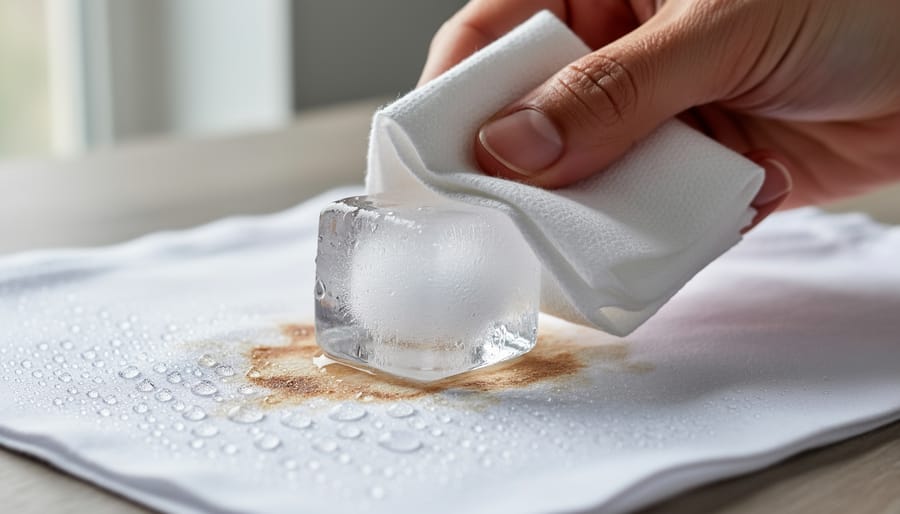
I still remember the heart-sinking moment I discovered bright pink bubblegum ground into my daughter’s favorite reading chair. Before panic set in, I grabbed something I already had in my freezer, ice cubes.
This method works beautifully because cold temperatures fundamentally change how gum and wax behave. When frozen, these sticky substances become hard and brittle instead of soft and gooey, which means they’ll snap off cleanly rather than smearing deeper into your fabric fibers.
Here’s exactly how to do it. Place several ice cubes in a plastic bag (to prevent water from soaking into your upholstery), then hold the bag directly against the sticky residue. Keep it there for about 10 to 15 minutes, you want the gum or wax completely frozen solid. You’ll know it’s ready when you can’t press into it anymore.
Once frozen, use a butter knife or old credit card to gently lift the hardened residue away from the fabric. Work carefully so you don’t pull or damage the fibers. The sticky mess should break off in pieces. If any stubborn bits remain, just refreeze and scrape again.
What makes this my go-to first method is its safety. There are no chemicals to worry about, no risk of discoloration, and it works on virtually any fabric type. You’re simply using physics to your advantage. Plus, everyone has ice cubes, making this the most budget-friendly solution imaginable.
2. White Vinegar and Warm Water Solution
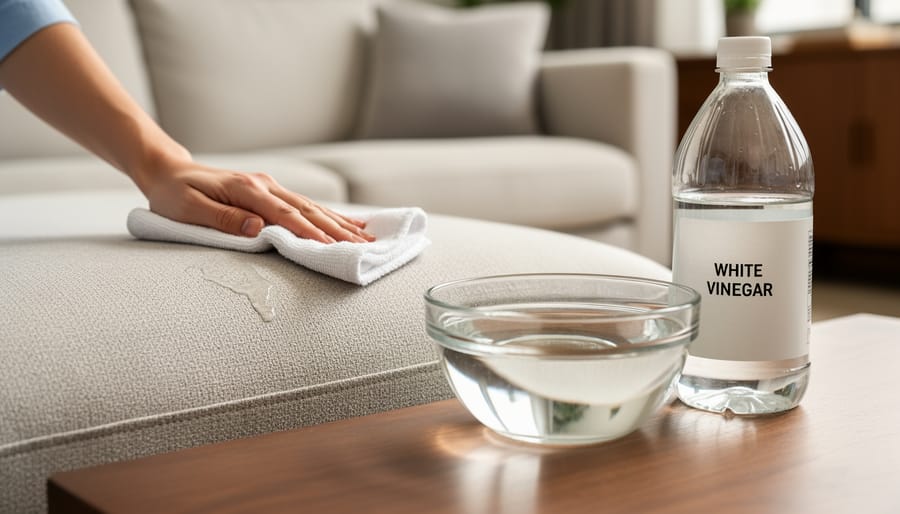
I discovered this method after my daughter plastered temporary tattoo backing paper all over our living room sofa. The sticky residue felt impossible to remove without harsh chemicals, but this vinegar solution saved the day without damaging the fabric.
White vinegar is surprisingly powerful against adhesives because its acidity breaks down the molecular bonds in sticky substances. The warm water helps the vinegar penetrate more effectively while keeping the fabric from getting oversaturated.
Mix one part white vinegar with two parts warm water in a bowl. For stubborn residue, you can use equal parts, but start with the gentler ratio first. Dip a clean white cloth into the solution and wring it out so it’s damp, not soaking. Press the cloth against the sticky area for 30 seconds to let the vinegar start working its magic.
Gently rub in circular motions, working from the outside of the residue toward the center. The stickiness should start dissolving and transferring onto your cloth. Flip to a clean section of cloth frequently so you’re not just spreading the residue around.
For tape or sticker residue that’s been there a while, you might need to repeat the process two or three times. Be patient and keep the area damp with your solution between attempts.
Once the sticky mess is gone, blot the area with a cloth dampened in plain water to rinse away any vinegar residue. Let the fabric air dry completely. The vinegar smell disappears as it dries, leaving your upholstery fresh and residue-free.
3. Baking Soda Paste for Stubborn Spots
When I found a gorgeous velvet club chair at an estate sale last spring, I was thrilled, until I discovered mysterious sticky patches all over the armrests. That’s when baking soda paste became my secret weapon for these stubborn messes.
This method works beautifully because baking soda provides gentle abrasive action that lifts away residue without harsh chemicals. The paste consistency lets you control exactly where you’re treating, which is perfect for spot cleaning upholstery without soaking the entire piece.
Creating the paste is wonderfully simple. Mix three parts baking soda with one part water in a small bowl, stirring until you achieve a toothpaste-like consistency. You want it thick enough to stay where you place it, but spreadable. If it’s too runny, add more baking soda; too thick, add a few drops of water.
Apply the paste directly onto the sticky spot using your fingers or a soft cloth. Let it sit for five to ten minutes so the baking soda can work its magic on the residue. Then, using gentle circular motions, work the paste across the sticky area. The mild abrasiveness breaks down the adhesive without damaging most fabric types.
With my thrifted chair, I used this method on three different sticky spots. After letting the paste sit, I gently worked it in with a damp microfiber cloth, then wiped away the residue with a clean, damp cloth. The sticky mess lifted right off, and the velvet looked perfect. I was honestly amazed at how well it worked without any special products.
For particularly stubborn spots, you can repeat the process, but patience works better than pressure. Let the baking soda do the work rather than scrubbing aggressively.
4. Rubbing Alcohol for Label and Sticker Residue
I learned about rubbing alcohol’s magic touch with sticky residue when I brought home a gorgeous vintage ottoman from an estate sale, only to discover it was plastered with stubborn price tag remnants. Isopropyl alcohol (the same stuff in your medicine cabinet) dissolves adhesive on contact because it breaks down the chemical bonds in most sticky substances without leaving its own residue behind.
For this method, you’ll want rubbing alcohol that’s at least 70% concentration, higher percentages work even faster. Pour a small amount onto a cotton ball or clean white cloth until it’s damp but not dripping. Gently dab the sticky area and let the alcohol sit for 30 to 60 seconds to penetrate the adhesive. You’ll notice the residue starting to soften and lift. Use a gentle circular motion to work the sticky mess away, adding fresh alcohol as needed. The adhesive should roll right off in little balls or wipe away cleanly.
This method shines for price tag gunk, label residue, and tape marks on upholstery. It works beautifully on cotton, polyester blends, and most synthetic fabrics. However, skip the alcohol on silk, acetate, rayon, or any fabric with special finishes like flame retardant treatments, it can cause discoloration or damage the fibers. Always test on a hidden spot first, especially with darker fabrics where color bleeding might occur.
After the sticky residue disappears, blot the area with a damp cloth to remove any alcohol traces, then let it air dry completely. The whole process usually takes just minutes.
5. Dish Soap and Oil Combination
I discovered this brilliant combination quite by accident when my daughter got craft glue all over a vintage armchair I’d just reupholstered. The dish soap and oil method works like magic because it tackles the problem in two stages, the oil breaks down the sticky mess, and the soap removes everything cleanly.
Start by applying a small amount of vegetable oil or coconut oil directly onto the sticky residue. I prefer coconut oil because it smells pleasant and solidifies at room temperature, making it easier to control. Gently work the oil into the residue with your fingers or a soft cloth, letting it sit for about five minutes. You’ll notice the sticky substance begins to loosen and roll away from the fabric fibers. The oil molecules essentially surround and dissolve the adhesive, breaking its bond with the fabric.
Once the residue has loosened, it’s time for the dish soap. Mix a few drops of regular dish soap with warm water, you want sudsy water, not concentrated soap. Dampen a clean cloth with this solution and blot the oily area thoroughly. The dish soap cuts through the oil while lifting away the dissolved adhesive. You might need to repeat this step two or three times to remove all traces of oil.
This method works beautifully on cotton, polyester, and most upholstery fabrics. I’ve used it successfully on everything from canvas cushions to microfiber sofas. The gentle nature of both ingredients means you won’t damage delicate fibers, making this my go-to solution for stubborn adhesives on treasured pieces.
6. Hair Dryer Heat Method
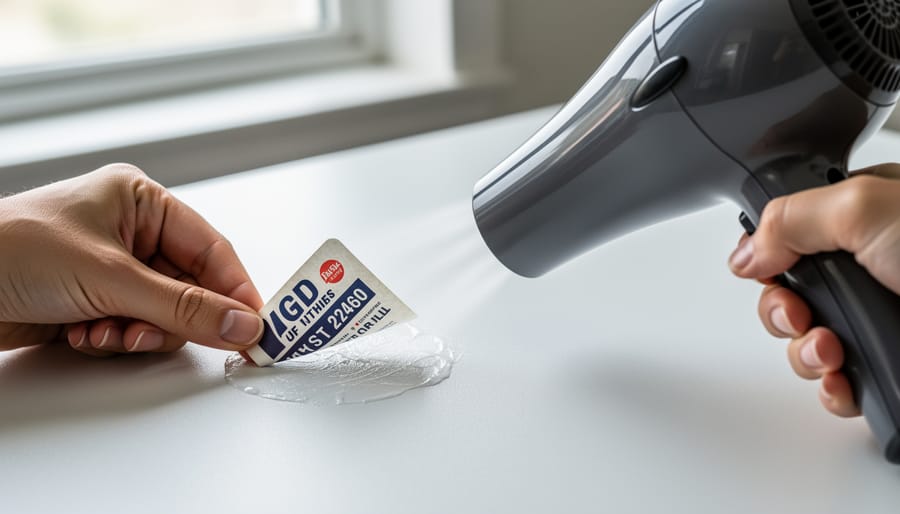
I discovered this method by accident when my daughter peeled a sale sticker off a secondhand ottoman, leaving behind that cloudy, stubborn adhesive mark. A hair dryer, set on medium heat, transformed that frustrating residue into something I could wipe away in seconds.
The heat method works by softening the adhesive’s bond with the fabric fibers. Hold your hair dryer about six inches from the residue and apply warm air in gentle, circular motions for 30-60 seconds. You’ll notice the sticky substance becoming more pliable. Once it’s warmed up, use a clean cloth or plastic scraper to gently lift it away. The residue should come off easily without leaving a trace.
This technique shines with price tag residue, tape adhesive, and wax-based substances. I’ve used it countless times on thrifted furniture that still wore their store tags proudly.
Safety matters here. Always test on an inconspicuous spot first, as heat can damage delicate fabrics like silk or affect certain synthetic materials. Never use the hottest setting or hold the dryer too close, you want to warm the residue, not scorch your upholstery. Keep the dryer moving to avoid concentrating heat in one spot, and if you smell anything unusual or see any color change, stop immediately.
For really stubborn residue, alternate between heating and gentle scraping. The patient approach wins every time, and your hair dryer becomes an unexpected hero in your thrifty cleaning arsenal.
7. Peanut Butter for Sticky Situations
I’ll never forget the skeptical look my mother-in-law gave me when I smeared peanut butter on her vintage loveseat to tackle tree sap my kids tracked in. Five minutes later, she was a believer. The natural oils in peanut butter, particularly the creamy, not chunky variety, work surprisingly well at dissolving stubborn sticky substances like sap, gum, and even old adhesive residue.
Here’s how it works: spread a thin layer of creamy peanut butter directly onto the sticky spot, ensuring full coverage. Let it sit for about five minutes while the oils penetrate and break down the adhesive. Then gently scrape away the loosened residue with a butter knife or credit card edge, working carefully to avoid damaging the fabric fibers.
The tricky part comes next, removing the peanut butter itself. Blot the area with paper towels to absorb excess oil, then treat it as you would a grease stain. Apply a small amount of dish soap directly to the spot, work it in gently with your fingers, then blot with a clean, damp cloth. You may need to repeat this process twice to fully remove the oily residue. Having the right laundry tools on hand makes the cleanup process much smoother.
Before tackling a large sticky mess with this method, plan your project by testing on a hidden spot first. Dark fabrics may show oil staining if not cleaned thoroughly, so patience with the dish soap stage is essential.
What to Know Before You Start
Before you tackle any sticky mess, take a few minutes to set yourself up for success. I’ve learned these precautions the hard way, like the time I rushed to remove wax from a vintage velvet chair without testing first. These simple steps will save you heartache and protect your favorite pieces.
Always test your chosen method on a hidden spot first. Check an inconspicuous area like the back bottom corner or underneath a cushion, then wait fifteen minutes to ensure no discoloration or damage appears. This thirty-second step has saved me from ruining more pieces than I can count.
- Always blot sticky residue, never rub or scrub, which pushes the mess deeper into fibers
- Work from the outside edges of the stain toward the center to prevent spreading
- Use white cloths or paper towels so you can see what’s lifting away
- Let treatments sit for the recommended time; rushing rarely improves results
- Pat dry thoroughly after treatment to prevent water rings or mildew
Patience truly is your friend here. These thrifty home tips work beautifully when you give them time rather than scrubbing frantically. Start with the gentlest method appropriate for your situation, and only move to stronger solutions if needed.
Know when to call for help, though. If you’re dealing with expensive antique upholstery, silk fabrics, or a stain that’s already set for months, professional cleaning might be worth the investment. Sometimes saving a treasured piece means admitting when it needs expert care.
Common Questions About Removing Sticky Residue
I get asked these questions all the time when I share my sticky residue tricks, so let me put your mind at ease with straightforward answers based on what I’ve learned through plenty of trial and error.
Can these methods damage my fabric?
When you test first on a hidden spot and use gentle techniques, damage is rare. The ice, vinegar, and baking soda methods are particularly safe, while alcohol and heat require more caution on delicate or synthetic fabrics.
How long does each method take to work?
The ice method works in 10-15 minutes once frozen, vinegar needs 5-10 minutes to soak, and the oil combination takes about 15 minutes total. Most methods require patience rather than elbow grease.
What about dry-clean-only fabrics?
For dry-clean-only upholstery, stick with the ice method or very minimal dabbing with vinegar on a cotton swab. When in doubt, a professional cleaner is worth the investment for expensive or delicate pieces.
Will these work on car upholstery?
Absolutely. I’ve used the vinegar solution and baking soda paste on car seats with great success, though you’ll want to be extra careful with leather, which needs specialized products.
The biggest mistake I see folks make is rushing the process or scrubbing too hard. These methods work through chemistry and patience, not force. If one approach doesn’t quite do the trick after a reasonable try, move to the next option rather than repeating the same method more aggressively. I’ve salvaged everything from my daughter’s craft-glue-covered armchair to a vintage settee with mystery adhesive, and I’ve never needed anything harsher than what’s already in my kitchen.
You don’t need fancy products or a professional to tackle sticky messes on your favorite fabrics. Armed with pantry staples and a bit of patience, you can rescue that thrifted velvet chair or save your beloved sofa from what seemed like permanent damage. I’ve brought countless pieces back to life this way, and there’s something deeply satisfying about solving these problems without spending a fortune.
Start with the gentlest approach first. The ice cube method or vinegar solution won’t hurt anything, and they often work beautifully on their own. If those don’t quite do the trick, gradually move to stronger options like rubbing alcohol or the oil-and-soap combination. Most sticky situations surrender eventually.
Whether you’re dealing with holiday craft glue that escaped onto the couch cushions or summer popsicle drips on the patio furniture, these methods work year-round. That sticky spot that’s been bothering you for months? It doesn’t have to stay there. Take fifteen minutes this weekend to try one of these solutions. You’ll be amazed at what a little household ingenuity can accomplish, and your furniture will thank you.